Sunday, May 21, 2006

Can you see me now?


What on Earth is Pika doing? Why, she's seeing a "Magic Eye" (a.k.a. autostereogram) picture in 3-D for the first time! After trying for years without success, Tahera finally discovered a method that worked for her. Imagine her glee at finally being able to see them... Posted by Picasa

After all, we all know how frustrating it is when we can't see the god*%mn sailboat. Posted by Picasa

If no other method has worked for you in the past, we suggest using the "Hot-Dog Fingers" method of 3-D image visualization. Simply touch your fingertips together at eye level approximately 6" from your face, then focus on an object in the distance while keeping your fingers in the field of view. When done correctly, you should see a "hot dog" caught between your fingertips. This is a good starting point in training your eyes to focus through an image. Now, go to the Magic Eye how-to page, and follow their 3-square instructions to see a stereogram in 3-D.  Posted by Picasa

Now Here's one for you to try. Can you see what's in this picture? Posted by Picasa

Sunday, May 07, 2006

The Perkins Knot


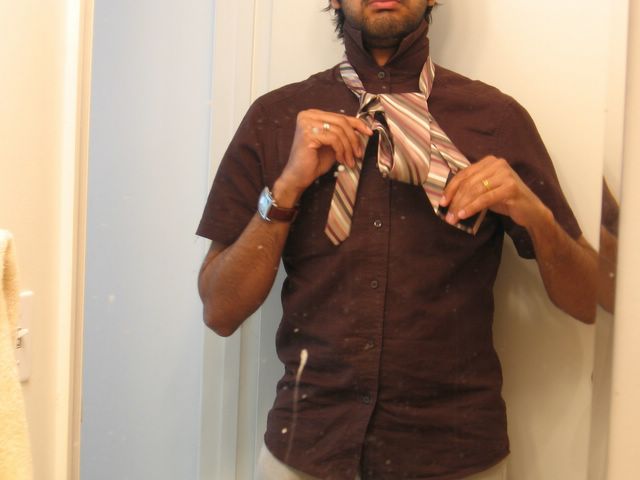
Every now and again, you come across something so amazing; so life changing that you just have to tell everyone about it. Standing beside me in this picture, prior to becoming famous for reasons that will soon become clear, is Jonathan Perkins. Jonathan (or Sweetie, as I call him) is the inventor of what will become known as "The Perkins Knot" (I'll take credit for the title ;-) ). Since Jonathan is too modest to take credit for his awsome creation, I (having no shame, let alone any modesty) have taken it upon myself to spread the word of his phenominal contribution to men's fashion. After all, how can I be famous for naming it "The Perkins Knot" if no one knows what the hell a Perkins Knot is. Posted by Picasa

Historical bits aside, lets go through how one actually goes about tying The Perkins Knot.
Ready Position: Start off with the vast majority of the tie on side with the fat end. Don't worry about the short tail, if it doesn't quite make it to the label behind the tie to be tucked in, simply tuck it into the shirt between the top 2 buttons. Posted by Picasa

First, cross the longer end in front of the short end. Posted by Picasa

next form the 1st knot by pushing the fat end (here forward known as "the end") of the tie behind and up through Posted by Picasa

you don't have to "cinch" this knot up to the top. Posted by Picasa

next pull the end to the other side going behind the tail. Posted by Picasa

Now pull the end over the front on this side and pull through, forming the 2nd knot. You'll see the back of the end is facing forwards in my left hand, this is correct. Posted by Picasa

pulling the end through... Posted by Picasa

having pulled the end down through again, you can see how the 2 knots form the "skeleton" of the triangle .  Posted by Picasa

Next, cross the end in front of the 2 knots you've made. Posted by Picasa

Pull the end back behind and up through (the rest is exactly like a four-in-hand). Posted by Picasa

Now pull the end down through the front of the knot. You're almost done! Posted by Picasa

Finally, just cinch up the job by holding the tail of the tie and sliding the knot up as you would with a four-in-hand knot. Posted by Picasa

and voila! The beauty of this knot is that you get the ease of tying and tightening like a four-in-hand, with the formality of a half-windsor. Give the Perkins knot a try, I'm sure once you see for yourself how easy it is and how good it looks, you'll be as convinced as I am! Posted by Picasa